
Tools

Optimal installation of non-slip stair strips
For best results when installing a non-slip stair strip, it is crucial to follow the following tips:
- Work at room temperature. The anti-slip stair strip will be smoother, which makes application easier.
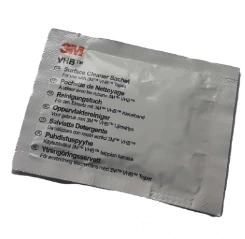
- Clean the stair treads thoroughly. Use a 3M alcohol wipe to remove dirt where the anti-slip strips will be applied. This ensures reliable adhesion.
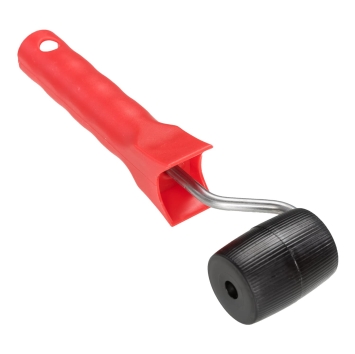
- Use a pressure roller. This ensures even distribution of the adhesive and firm adhesion of the anti-slip strip to the stairs.
- Clean your hands thoroughly. Avoid contact with the adhesive layer to optimize adhesion.
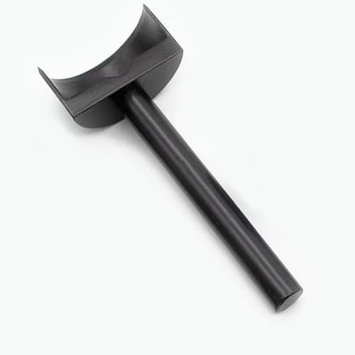
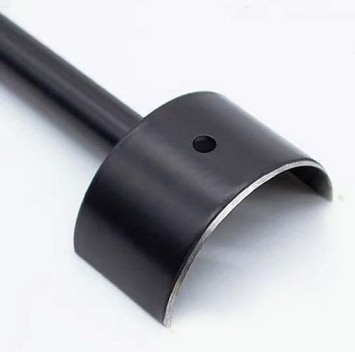
Round finishing of anti-slip strips
For a neat finish with rounded ends, use a special metal punching chisel. Using a hammer, strike a semi-circular edge into the ends of the strip.
Essential tips for installation
- Measure the steps carefully and cut the anti-slip strip to size. Watch the installation video here.
- Attach the strip 2.5 cm away from the front of the steps. Start at the top and work your way down.
- Press the strip firmly with a press-on roller.
- The adhesive layer of the stair strip will be fully cured after 24 hours.
Conclusion
With these tips, you will ensure that the anti-slip stair strip is applied correctly so that you will benefit from a safe and durable solution for years to come.